Introduction to Granny Square Ponchos
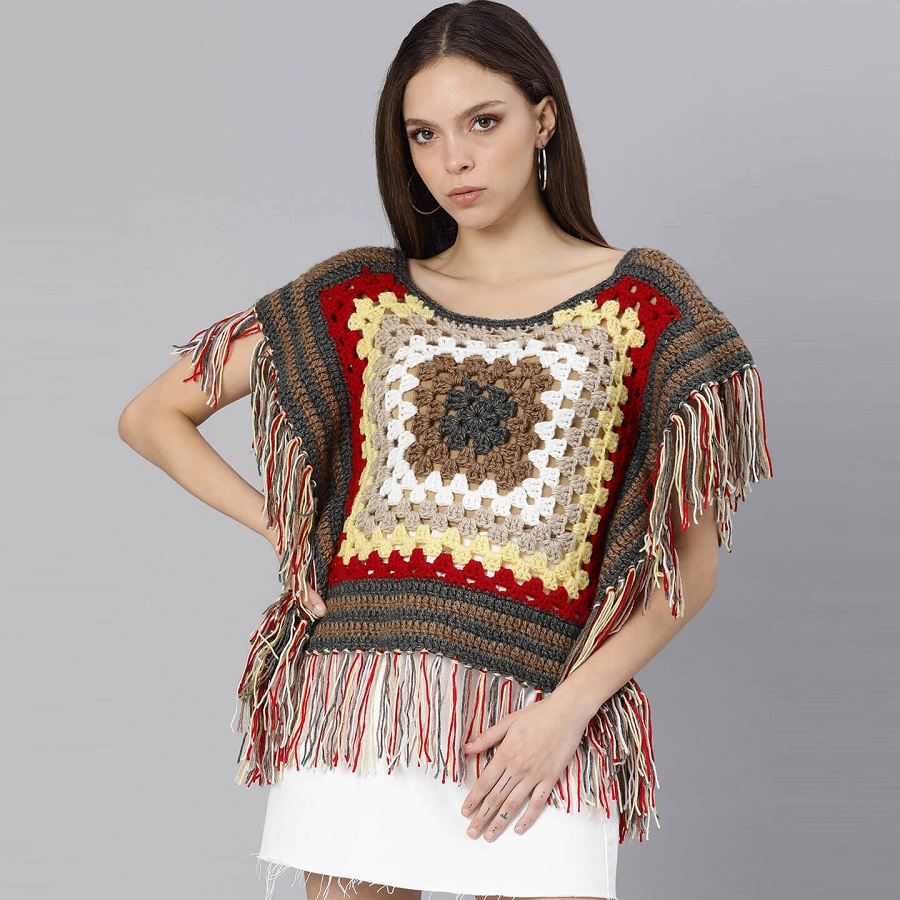
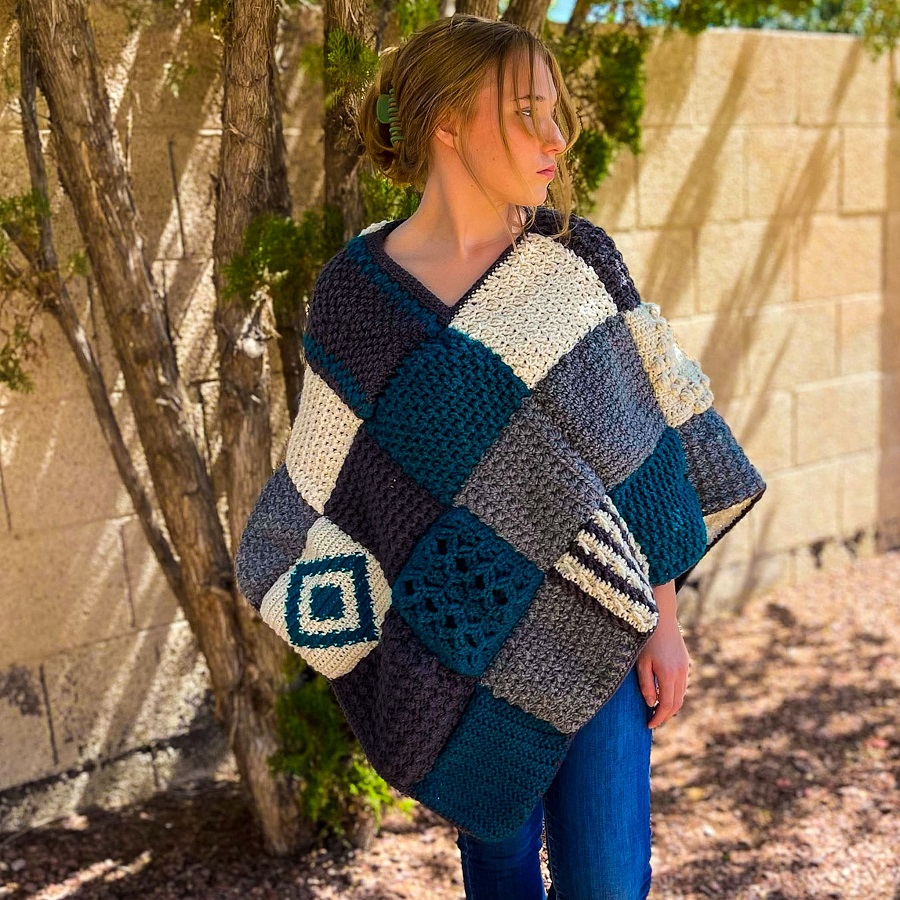
Granny square ponchos are timeless fashion staples in the crochet world. They blend vintage charm with modern style, creating a cozy yet chic garment. Perfect for crafters of all skill levels, these ponchos allow for endless creativity and personalization.
From selecting the right yarn to piecing together the final product, creating a granny square poncho is a rewarding project. You’ll learn about the essential materials and tools required, understand the basics of crocheting granny squares, and discover techniques for joining them effectively.
Customizing your poncho is part of the fun. Choose from a spectrum of colors, add fringe or other embellishments, and tailor it to your size and style preferences. Once complete, you’ll have a unique piece that’s not just functional for chilly days but also a statement of your handiwork.
Let’s embark on this creative journey, starting with gathering your materials and diving into the delightful process of crocheting your very own granny square poncho.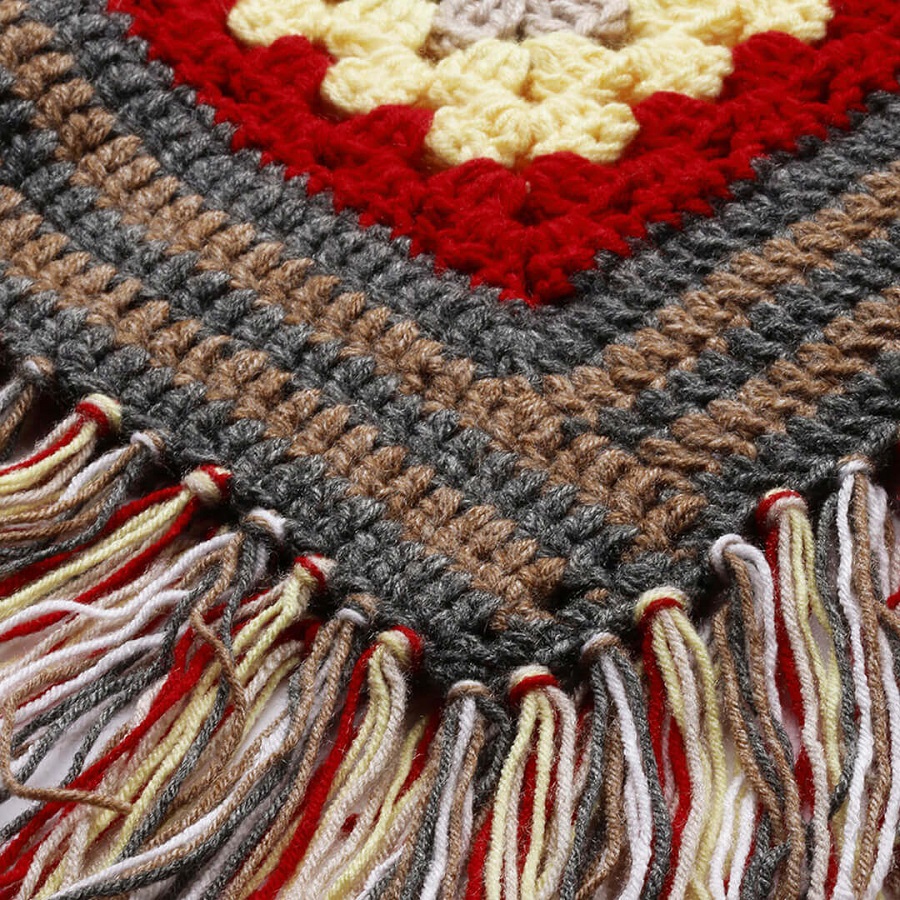
Essential Materials and Tools
Before embarking on your granny square poncho project, gathering the right materials and tools is crucial. Quality supplies will not only make the process smoother but will also have a significant impact on the result of your handcrafted garment.
Selecting Yarn for Your Project
Choosing the yarn for your granny square poncho is a vital step. Opt for yarn that provides warmth, comfort, and enough durability to handle regular wear. Worsted weight yarn is a popular choice for ponchos, as it offers a balance between thickness and usability. Consider yarn fiber—will it be wool for extra warmth, acrylic for easy care, or a blend for the best of both worlds?
Softness and color are other considerations. If the poncho is close to your skin, pick a yarn that feels comfy. Vibrant yarn colors bring your granny squares to life, while muted tones offer a subtle, sophisticated look. Always check the yarn label for care instructions to ensure your finished poncho remains beautiful for years.
Crochet Hooks and Other Accessories
Next, select your crochet hook. The hook size should match the yarn weight recommended on the label. For worsted weight yarn, a size H (5.00mm) or I (5.50mm) hook is typically suitable. Ensure the hook provides a comfortable grip to prevent hand fatigue during extended crocheting sessions.
Other accessories you’ll need include a yarn needle to weave in ends, scissors for snipping yarn, and stitch markers to help keep track of your pattern. If you plan to add fringe or other embellishments, gather those materials too. Once you have all your tools and materials ready, you’re set to begin the delightful task of crocheting your poncho.
Crocheting the Granny Squares
Granny square ponchos are more than just a garment; they’re a crafty adventure that delivers style and comfort.
Understanding Granny Square Basics
To start your granny square poncho, familiarize yourself with the granny square pattern. This traditional motif is made in rounds, beginning with a loop and building outward. Each round typically includes clusters of double crochets and chain stitches, creating a distinctive look. Mastering this square is the first step to a unique poncho.
Consistency is key. Use the same size hook throughout to ensure uniform squares. As you crochet, weave ends in as you go to save time. Remember, an even tension is crucial for squares that fit together snugly.
Pattern Variations for Unique Designs
Pattern variations can transform the classic granny square. Mix in different stitches, such as half-double or treble crochets, for texture. Experiment with color changes within rounds for a vibrant effect. The joy of creating a granny square poncho lies in the possibilities to innovate.
Try various motifs, like a sunburst pattern or floral center, to personalize your poncho. Incorporating different square designs adds flair. Craft each square with a distinct pattern or color sequence for a patchwork look that stands out.
From the choice of warm, earthy tones for autumn vibes to bright, pastel hues for a spring feel, the customization options know no bounds. Your creativity will dictate the unique style of your poncho.
Joining Granny Squares Effectively
To bring your granny square poncho to life, effectively connecting your squares is essential. Secure and attractive joins will give your poncho durability and a professional finish.
Techniques for Connecting Squares
There are several methods for joining granny squares, each with its own look and feel. The whip stitch is a simple and popular choice for its flat and discreet join. For a more textured, raised effect, consider the slip stitch join. If you prefer a seamless look, the ‘join as you go’ method is ideal, as it connects squares during the final round of each piece.
Using a yarn needle is key for most joining techniques, and it’s important to align your stitches carefully to maintain the shape and design of your poncho. Be sure to match your joining yarn color to the squares for a cohesive look or use a contrasting shade for added interest.
Layout and Assembly Tips
Before joining, layout your squares to decide the final look of your poncho. This will help you visualize the end product and ensure a balanced distribution of colors and patterns.
When it comes to assembly, start by joining squares into strips or larger sections before connecting them together to form the poncho. This makes handling the project easier and allows you to adjust the layout if needed before the final assembly. Consider using stitch markers to pinch squares together, ensuring they don’t shift while you join them.
Remember, the assembly pattern is crucial for determining the shape of your poncho. It usually consists of attaching squares in a certain order to create armholes and the neckline. Refer to your chosen pattern for specific assembly instructions and read through all steps before you begin to familiarize yourself with the process.
Properly connecting your granny squares is a satisfying step towards completing your custom poncho. Take your time with these techniques, and soon your handcrafted garment will be ready to wear and cherish.
 Crafting the Poncho Shape
Creating the shape of your granny square poncho is a thrilling step in the process.
Determining Size and Fit
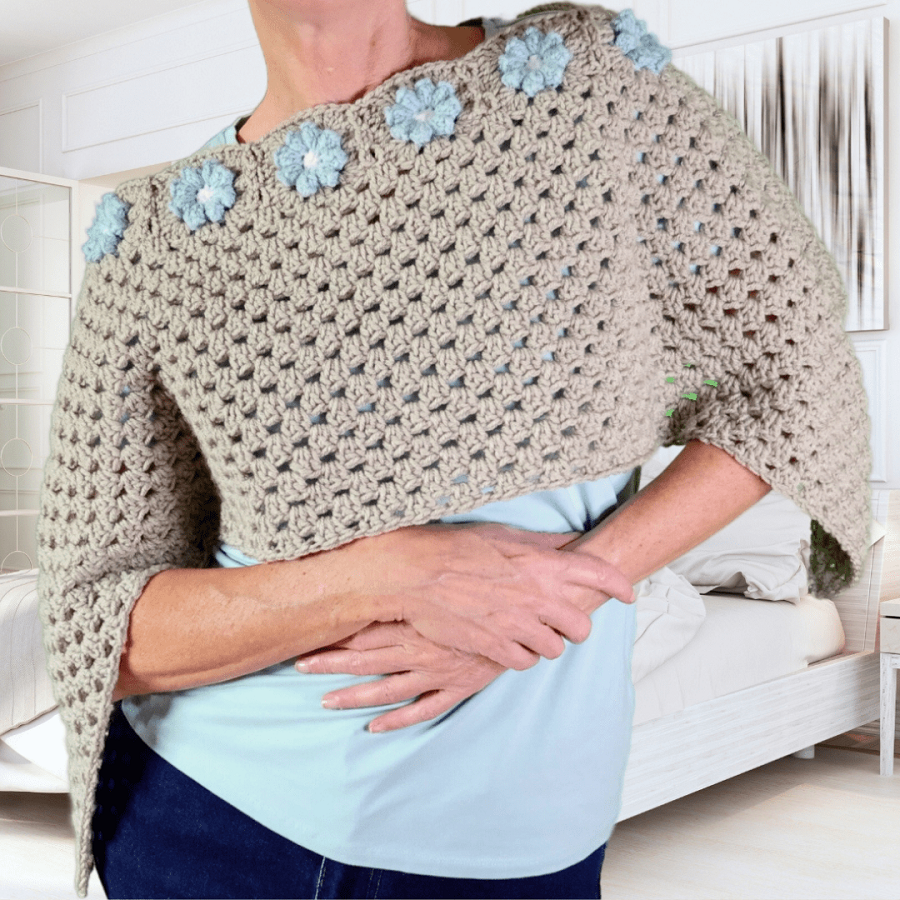
Measure yourself to decide on the size and fit of your poncho. Use these measurements to plan the number of granny squares needed. Ensure the poncho drapes well on your shoulders. Remember that the fit should be loose and comfortable, allowing freedom of movement.
Consider the length, too; a poncho can be short and sweet or long and dramatic. Factor in your height and the look you’re going for. Review the poncho’s layout often as you assemble squares. Adjust the size as needed while you work.
Adding a Neckline and Border
Crafting a neat neckline gives your poncho shape and structure. Follow the pattern, often requiring fewer squares at the neck. The neckline should be wide enough to fit comfortably over your head.
A border frames your poncho and can be an opportunity for a creative touch. Simple single crochet stitches work well for a clean edge. You can also try decorative stitches for more flair. The border adds polish and helps stabilize the edges.
When adding a border, keep the tension consistent. This ensures the border lays flat and doesn’t ripple. Always finish the final round of your poncho with care for a cohesive look.
 Customizing Your Poncho
Creating a poncho that reflects your personal style involves playful exploration with colors and embellishments. Here, you will learn how to make choices that add character and flair to your handcrafted poncho.
Color Choices and Combinations
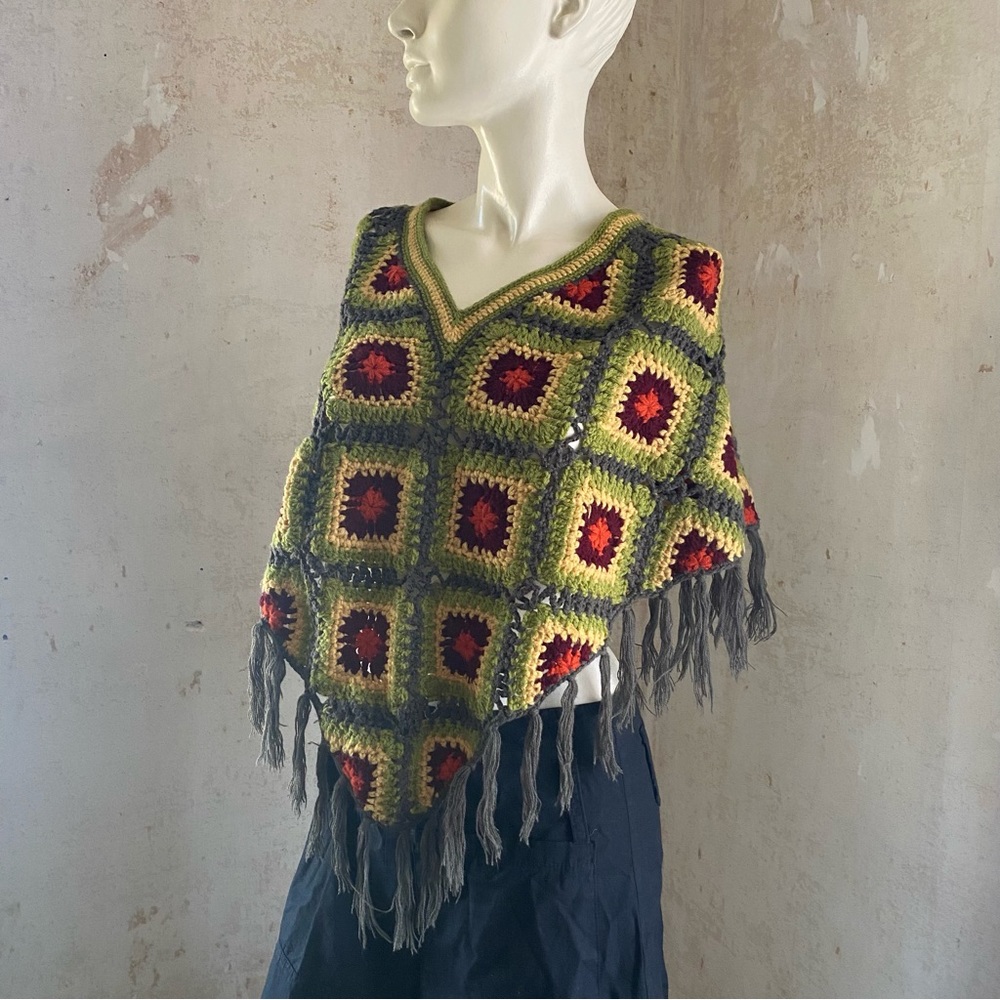
Color defines the mood of your poncho. Select hues that resonate with your personality or match your wardrobe. For a harmonious look, choose colors in the same family. Prefer bold statements? Mix contrasting shades for an eye-catching piece. Use light colors for airy ponchos or dark tones for a warmer feel.
Experiment by arranging granny squares on a flat surface. Switch them around until you find a pattern that delights you. Remember, there is no right or wrong—only what brings you joy and satisfaction.
Adding Fringe and Other Embellishments
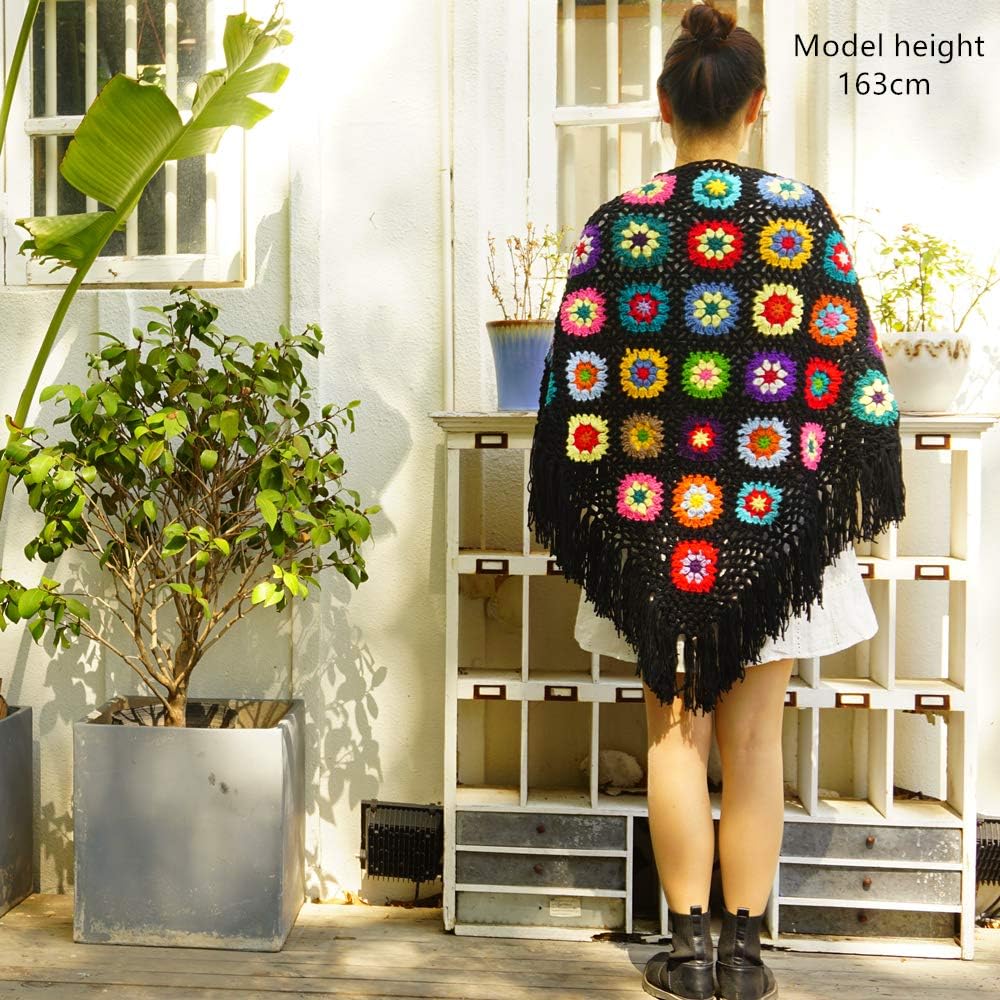
Fringe adds movement and a boho-chic vibe. Cut yarn strands twice the length of your desired fringe, fold them in half, and attach around the poncho’s edge. For a subtle effect, choose the same color yarn. Want a pop of fun? Go for a contrasting color.
Beyond fringe, consider lace edges, decorative buttons, or even beads for a personalized touch. These details can enhance the poncho’s style and make it truly unique. Attach securely and evenly spaced for a cohesive look.
Your customized granny square poncho, adorned with thoughtful color choices and special trims, will be a showcase of your creativity and a treasure in your wardrobe.
 Finishing Touches
Once your granny square poncho is assembled, adding a professional finish is crucial.
Weaving in Ends for a Clean Look
Weaving in loose ends tidies your work, making the poncho neat. Snip ends and weave them using a yarn needle. Ensure they’re secure to prevent unravelling.
Care and Maintenance of Your Crochet Poncho
Caring for your poncho ensures longevity. Follow yarn label instructions for washing. Store it properly to avoid damage. Regularly check for loose ends or needed repairs.
Styling Your Handmade Granny Square Poncho
Your granny square poncho is more than a cozy wrap; it’s a fashion piece. With the right styling, it can accentuate your outfits across seasons.
Fashion Inspiration and Pairing Ideas
Layer your poncho over a turtleneck for a snug, chic look. For a casual day out, wear it over a plain tee and jeans. It looks great against solid colors. Pair with boots for a complete fall ensemble.
In spring, drape your poncho over a flowy dress. The squares add texture and a playful edge to a simple outfit. Choose light, airy colors for a fresh look. Slip on some sandals, and you’re ready for a sunny day out.
Accessorize with bold jewelry like chunky necklaces or wide bracelets. These pieces stand out against the poncho’s pattern. For cooler weather, a hat and long gloves can complement the poncho and keep you warm.
Choose bags that won’t snag your poncho’s yarn. A leather crossbody or a smooth tote works well. Remember, confidence is key. Wear your granny square poncho with pride, knowing its unique charm and your work speak volumes.